
Make a DIY crossbow from scratch using this featured video guide so you can increase your chances of survival in the wild!
RELATED: 15 Homemade Weapons That Are Badass [2nd Edition] | Survival Life
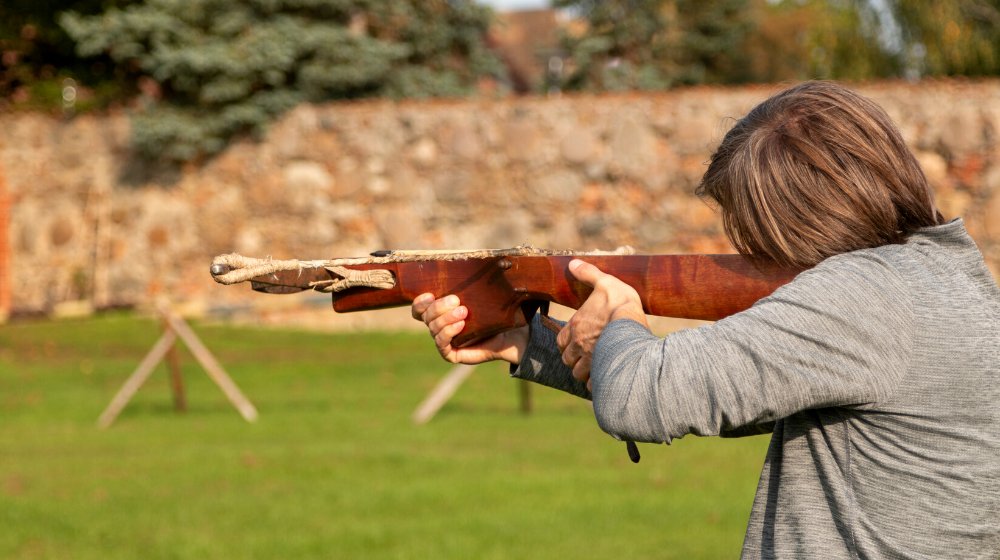
DIY Crossbow | An Effective Survival Weapon
How a Crossbow Works
The crossbow will be a better option than a longbow, especially in a scenario where you may have lost your rifle or just didn’t bring one along. This weapon does not demand too much physical exertion as a longbow does.
All you have to do is to draw the string and you’re ready to shoot. Shooting positions can be varied and your height will not be a hindrance.
Another advantage is you do not need to master the draw-aim-shoot technique. This type of survival weapon is fairly easy to use, so it’s a good idea to learn how to use it.
A crossbow offers many advantages in survival situations. It’s getting quite a following as a survival weapon, all thanks to The Walking Dead and Daryl Dixon’s character.
There are four components of this weapon: the body, the limb, the string, and the trigger. The first two will be pretty straightforward to make, but the latter will be a bit complicated.
How to Make a Simple DIY Crossbow?
Here’s a guide on how to make a simple crossbow easily with what’s available around you.
Step 1: Gather Materials and Tools
You will need the following materials and tools:
Materials:
Wooden plank (about 2 feet long)
Thick rubber bands or Paracord
Small screws
Metal string nocks or small eyelets
Metal wire or string for the bowstring

Small nut or bolt for the trigger mechanism
Small piece of metal or wood for the trigger
Tools:
Hand saw or jigsaw
Sandpaper
Screwdriver
Drill
Step 2: Cutting the Crossbow Frame
Using the hand saw or jigsaw, cut the wooden plank into the desired shape for the crossbow frame. Traditionally, crossbows have a stock, a trigger mechanism, and a bow section.
Step 3: Sanding the Frame
Smooth the edges and surfaces of the wooden frame using sandpaper. This will help prevent splinters and provide a better finish.
Step 4: Attaching the String Nocks
On the top and bottom of the bow section, attach metal string nocks or small eyelets. These will hold the bowstring in place.
Step 5: Creating the Bow
Use rubber bands or strong strings to create the bow. Attach one end of the rubber bands to the top string nock and the other end to the bottom string nock. The bands should be taut but not overly stretched.
Step 6: Adding the Trigger Mechanism
Drill a small hole near the front of the stock to insert the small nut or bolt, which will act as the trigger. Attach the metal or wooden piece for the trigger just above the hole, allowing it to pivot freely.
Step 7: Assembling the Trigger
Position the trigger piece over the nut or bolt, ensuring it moves smoothly. Test the trigger to make sure it releases the bowstring effectively.
Step 8: Finishing Touches
Inspect the crossbow for any loose screws or parts. Tighten everything securely to ensure safe operation.
Step 9: Adding the Bowstring
Attach the metal wire or strong string to the bow section, connecting it to both ends of the rubber bands. Ensure the bowstring is properly aligned and secured.
Step 10: Safety Precautions
Always treat the DIY crossbow with caution and respect. Never aim it at people or animals, and avoid dry-firing (shooting without a bolt). Use appropriate safety gear, such as safety glasses, when operating the crossbow.
Step 11: Target Practice
Find a safe and suitable area for target practice. Start at a short distance and gradually increase the range as you become more comfortable with the crossbow.
Tips to Create a DIY Crossbow
For the string, you can also use one from vines or tree barks, but you need a sturdy string for it to work. If you have paracord accessories with you, it can solve the problem, but there are better ways.
The simple trigger mechanism is where you need to be technical, that’s why you need a sharp tool to work on it. All in all, making a crossbow from scratch is feasible with your optimism and will to survive.
Out in the wild, it will seem like you’re helpless with only the elements. But armed with the proper DIY survival knowledge, what you’ll see is a treasure trove of materials to work on for your survival.
Right now, this DIY tutorial can serve as a guide for your prototype, and you can work your way to improving from here. The more you work on this project, the more you’ll know your way around hunting crossbows!
Do you have other ideas to create a DIY crossbow? Let us know in the comments section below!
Up Next:
Calling all preppers, craftsmen, bushmasters, outdoorsmen, and all-around skilled people, Survival Life needs YOU! Click here if you want to write for us.
Don’t forget to stay connected with us on Facebook, Twitter, Pinterest, and Instagram!
Editor’s Note: This post was originally published on September 27, 2019, and has been updated for quality and relevancy.
Source link: https://survivallife.com/make-a-diy-crossbow-from-scratch-video/ by ‘Above Average’ Joe at survivallife.com